
About Telos
Telos is a blockchain designed to provide a faster, more user-friendly, and cost-effective experience for its users. To participate in the governance of the Telos blockchain, users can stake their TLOS tokens to vote for block producers and community proposals. This process involves setting up a Telos wallet, staking tokens, and participating in community governance. The following guide provides step-by-step instructions on how to get started with staking TLOS and participating in Telos governance.
Set Up Telos Account
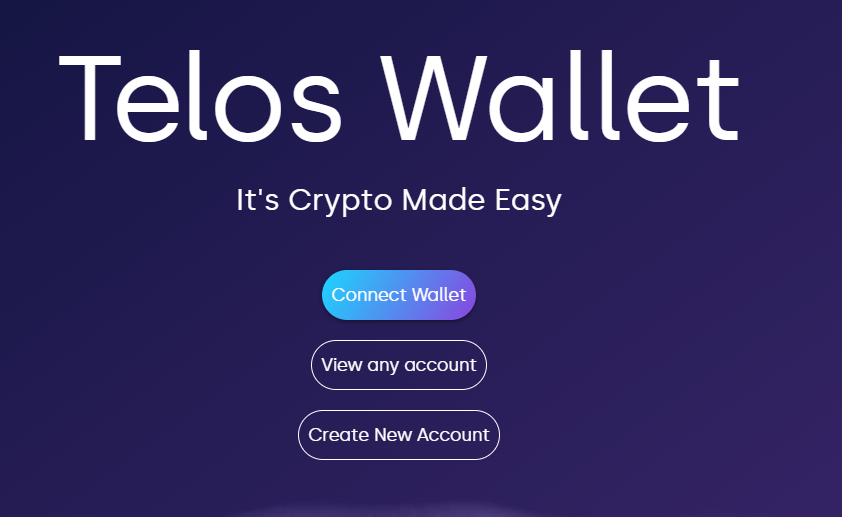
To be able to stake TLOS tokens, first of all, one has to have an account, which can be created using Telos Web Wallet Webpage. After opening the webpage, in case you already have a Telos account click the “Connect Wallet” button. In our case, we will create a new account and click the “Create New Account” button.
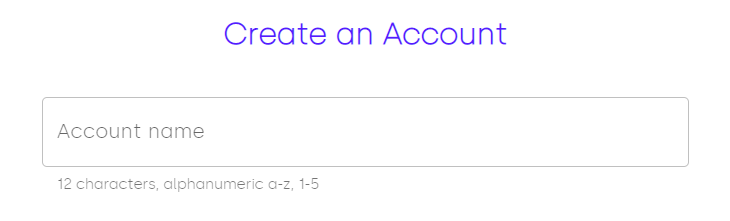
In order to create an account, come up with a desired account name that should consist of 12 characters (alphanumeric a-z, 1-5; No special characters allowed).
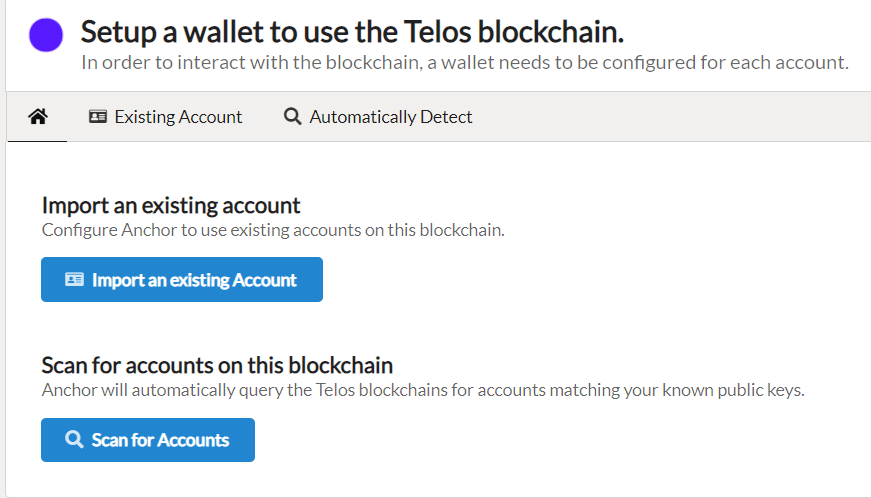
After successfully creating a new account, we have to connect the signer (In our case – Anchor App) to be able to perform different actions.
Open Anchor App, switch the network to Telos mainnet and press the “Import an existing Account” button.
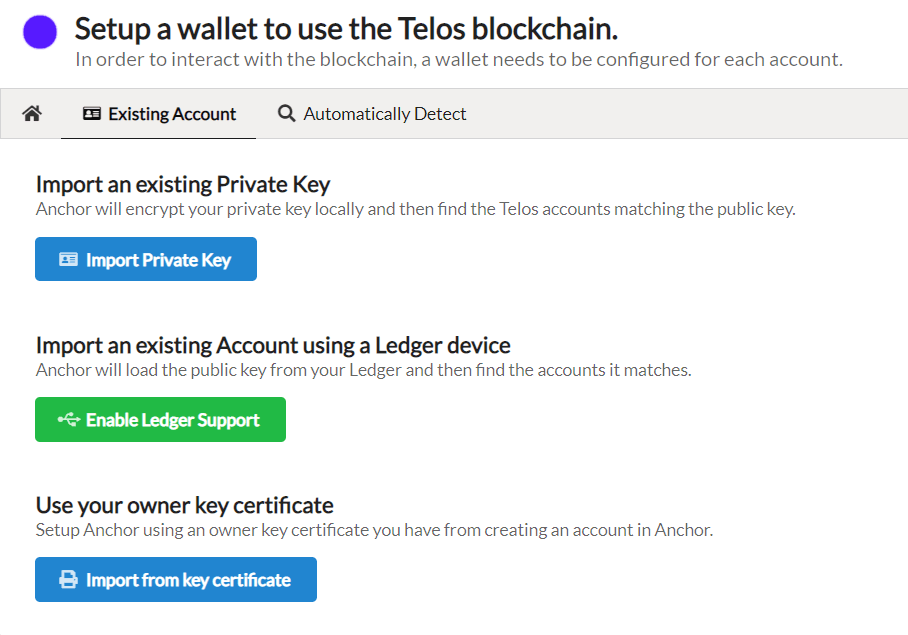
After that press the “Import Private Key” button and enter the private key generated during the account creation process.
That is it! You have successfully created a new Telos account and connected to the signer. Now we can proceed with the staking/voting process.
Stake TLOS Tokens
After successfully creating a new Telos account, you will have to purchase some TLOS tokens that you will stake and turn into the voting power. There are different ways through which TLOS tokens can be purchased. Some of these options can be found on Telos Official Webpage.
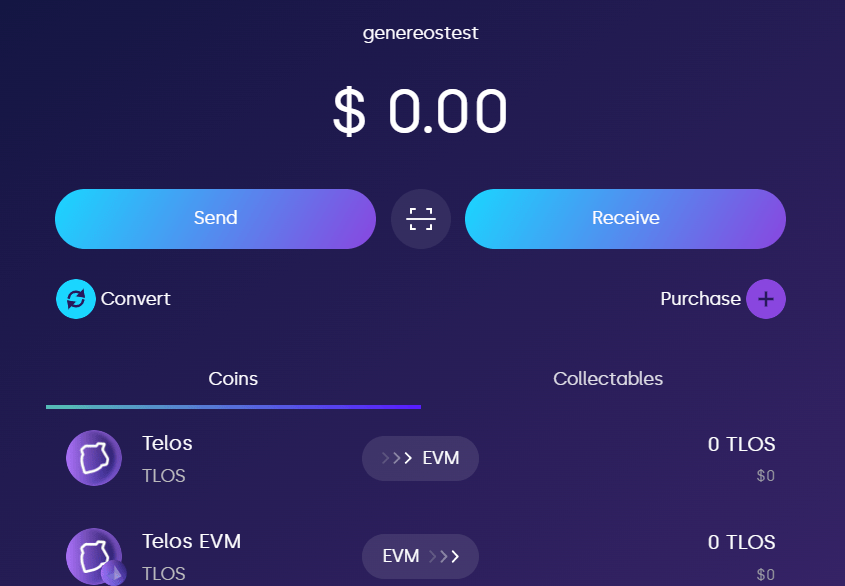
After receiving some TLOS, press the “Earn” button located on the main page of Telos wallet. Enter the desired amount of tokens you want to stake to REX and click “Stake Now” button.
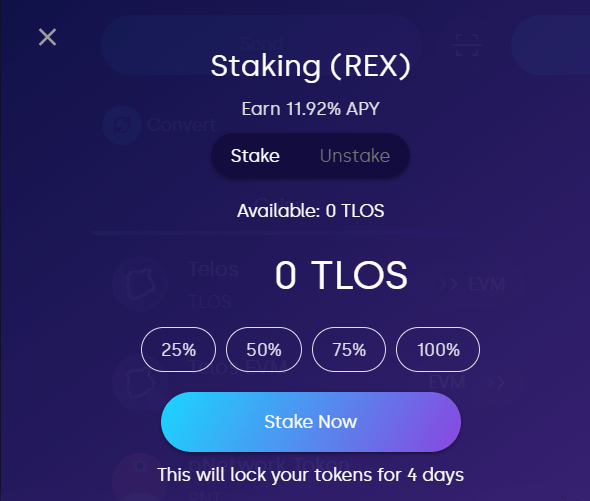
All staked tokens contribute to voting power and tokens that are staked to REX continue to earn interest for the period that they are staked. More information about voting power and its calculation can be found through the following link.
Vote for the Block Producers (BP)
After staking and getting the voting power, to be able to vote for the BPs, go to the Telos Explorer page and click the “Connect” button to connect your account to the explorer.
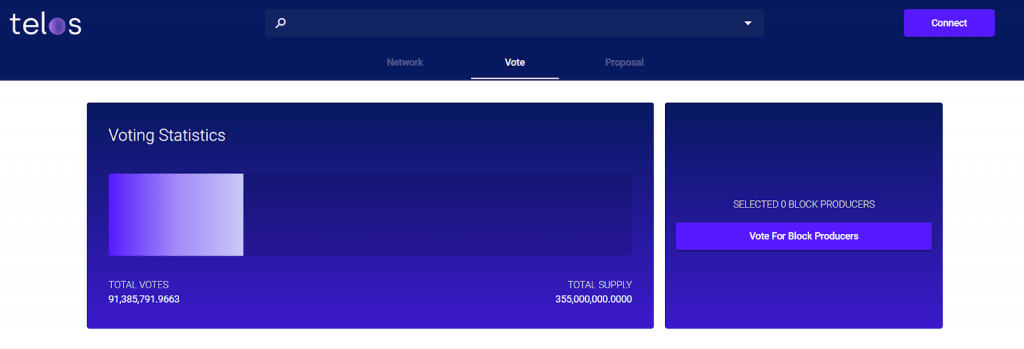
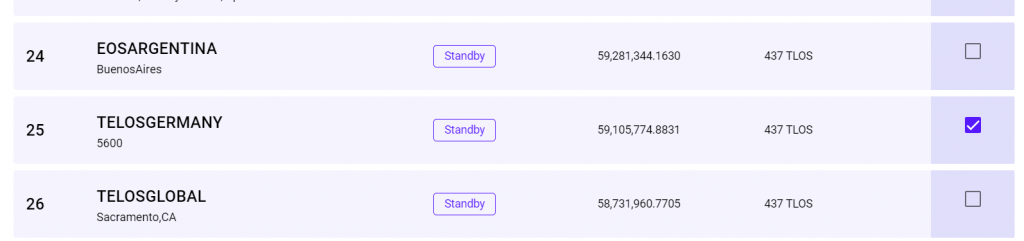
Voting for Block Producers on the Telos blockchain is essential to keeping the network running smoothly and efficiently. After connecting the account choose the BP, for example, TELOSGERMANY and press “Vote for Block Producers” button.
Note that in Telos, you can vote for up to 30 BPs.This allows for a decentralized and democratic approach to block production, where the community can decide which BPs they trust to secure and maintain the blockchain network. If you vote for more than one BP, your voting power is divided equally among the ones you have selected.
In conclusion, staking your $TLOS tokens and participating in governance on the Telos blockchain has never been easier! By following this guide, you can not only earn rewards for your contributions but also have a say in the future direction of the network.
Remember, your voice matters, and every vote counts! Whether you’re a seasoned Telos user or a newcomer to the ecosystem, we hope this guide has provided you with valuable insights into the staking and governance process.
If you would like to learn more about Telos and other blockchain-related topics, we invite you to visit our blog. Thank you for reading, and we wish you the best in your Telos staking and voting journey!
0 Comments